Overview
Multiple Comment System Support
NexT allows you to enable multiple commenting systems at the same time. You can modify the following configuration to adjust the style or behavior of multiple commenting systems.
# Multiple Comment System Support |
You can enable lazyload by setting value comments.lazyload to true in NexT config file. NexT uses IntersectionObserver to lazyload the comments, which is not supported by IE and most browsers released before 2017.
How to Disable Comments on Page
When you enabled comment service like Disqus, all new page will have comment service automatically. If you want to disable it in one page, just add comments key to front-matter and set its value to false. Like following:
title: All tags |
Rename Comment Count Text
You can rename the post meta text of comment count using languages.yml: Override Default Translations.
Disqus
Disqus is a global comment system that improves discussion on websites and connects conversations across the web.
Create an account and log into Disqus. Once logged in, click the
GET STARTEDbutton on the homepage, then selectI want to install Disqus on my siteoption and you will see theCreate a new siteinterface.Enter your
Website Name, which will serve as your Disqus shortname, and select a Category from the drop-down menu. Then clickCreate Sitebutton.Choose
I don't see my platform listed, install manually with Universal Code, configure Disqus for your site, and clickComplete Setupbutton.Set the value
enabletotrue, add the obtained Disqus shortname (shortname), and edit other configurations indisqussection in the NexT config file as following:NexT config file disqus:
enable: false
shortname: your-short-disqus-name
count: true
By default, Disqus enables advertisements and tracking codes, including the insertion of Viglink redirect links into web pages. This may cause inconvenience to visitors. In the Disqus settings, this behavior can be stopped by unchecking the Affiliate links option. Other advertising and tracking options can also be customized.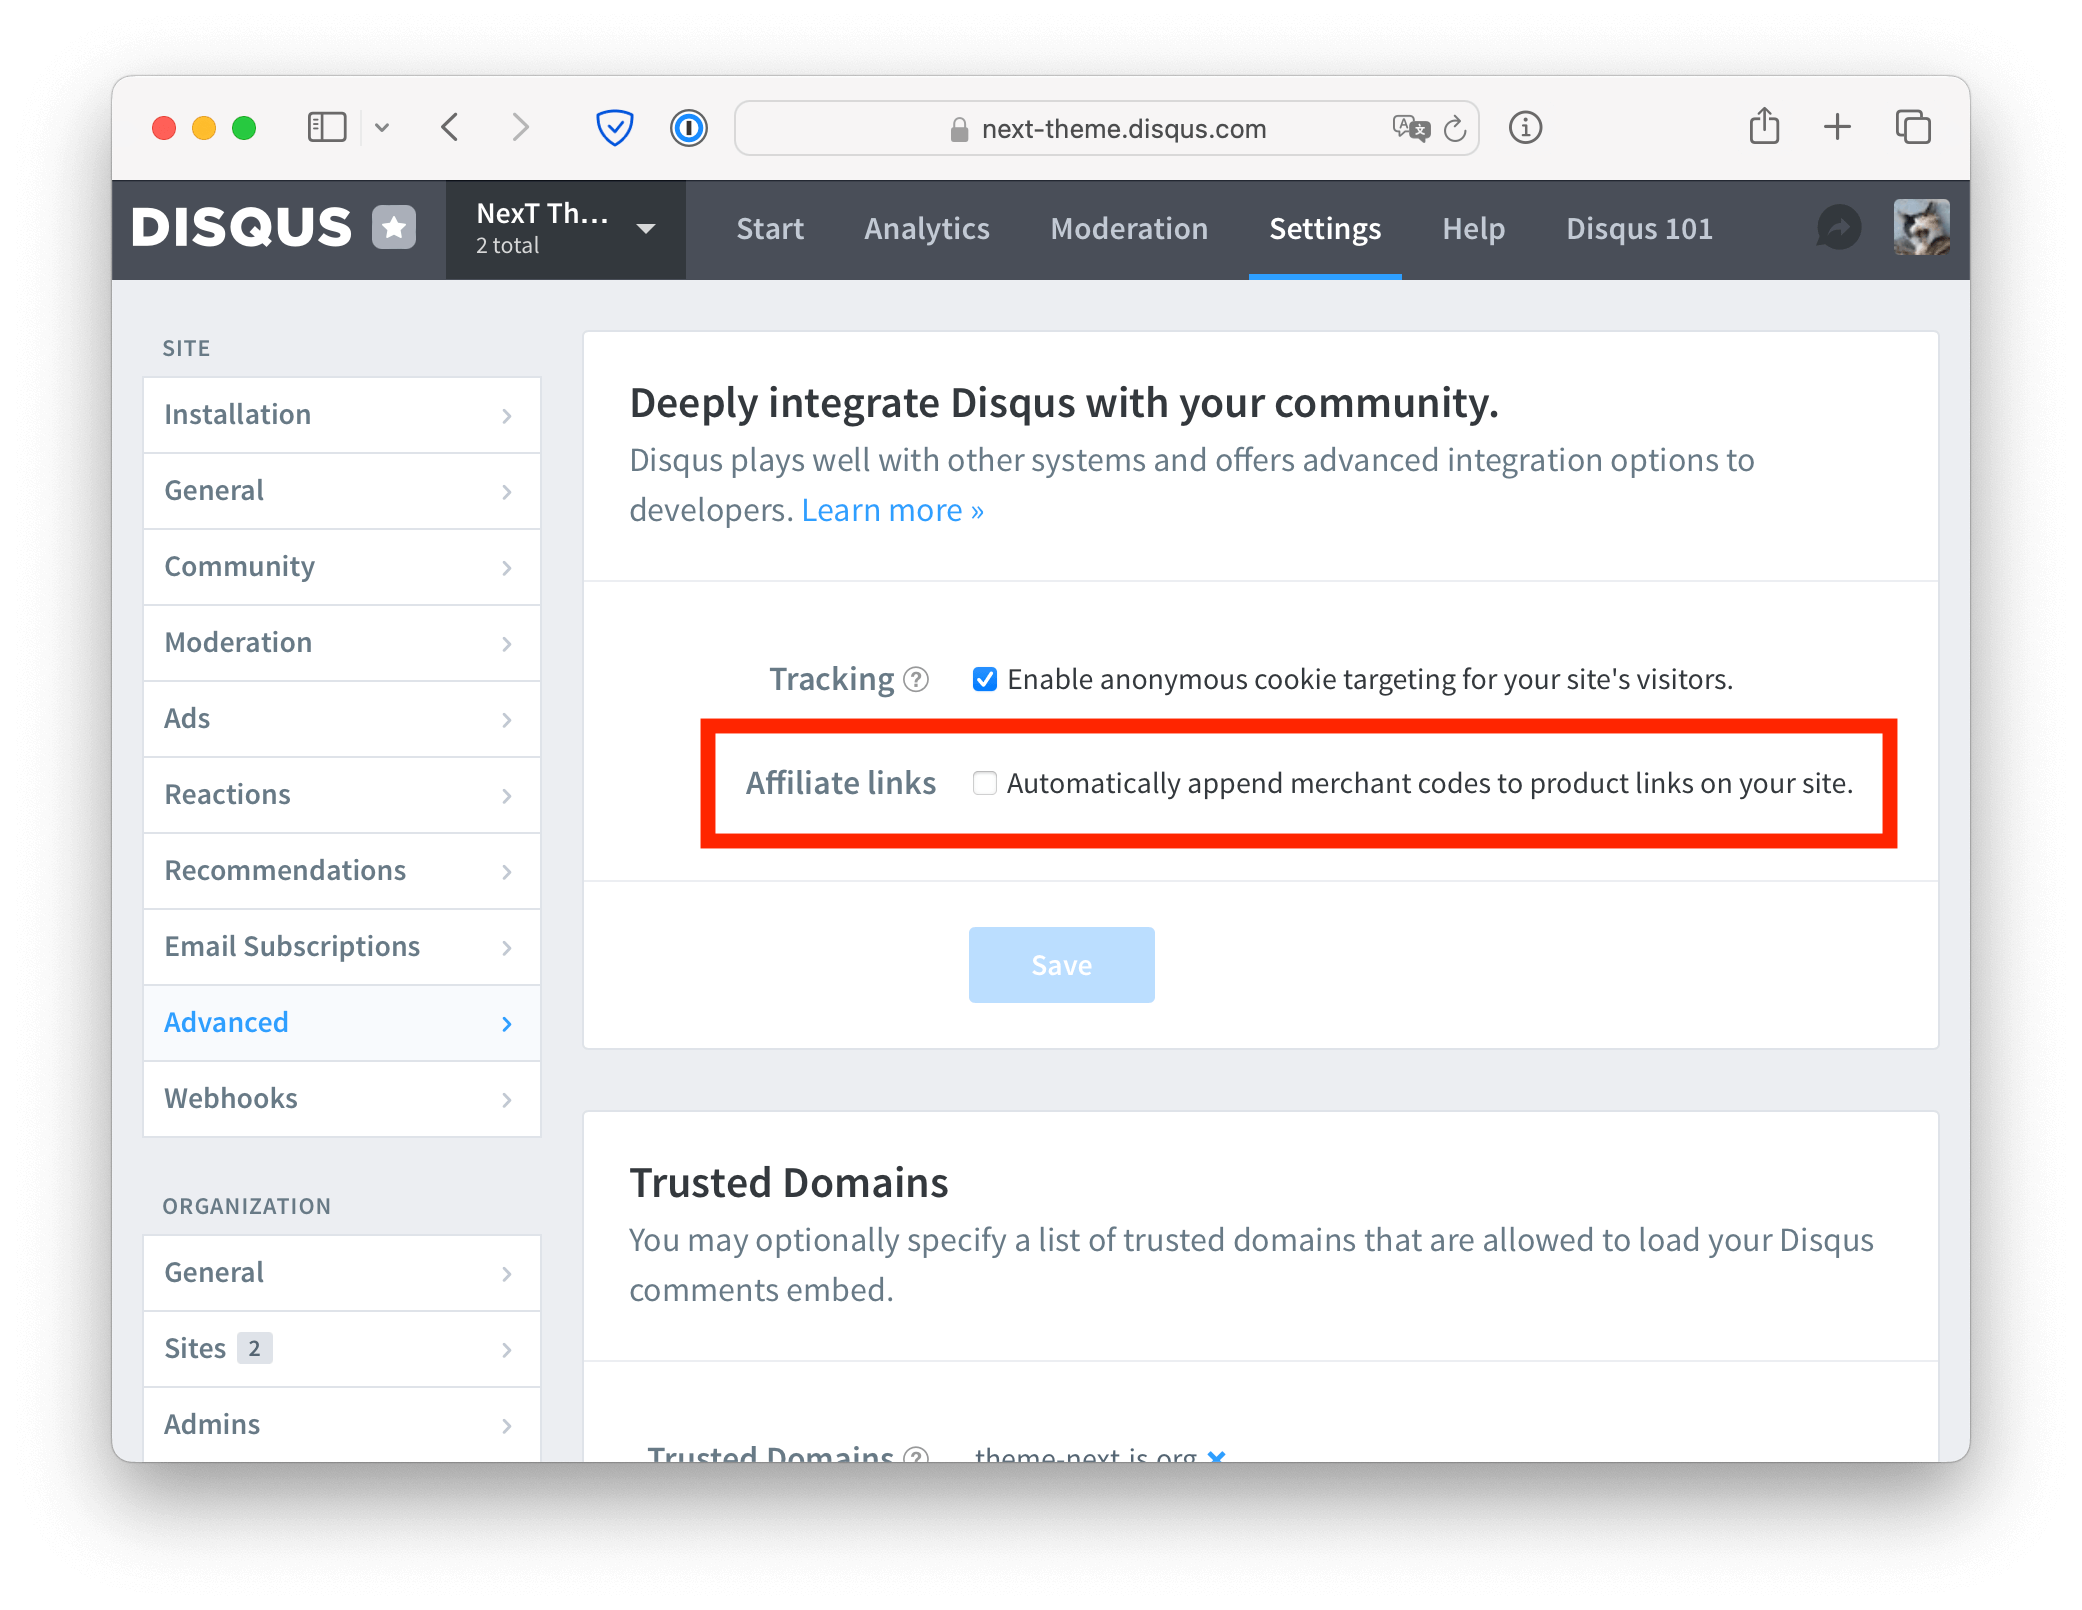
DisqusJS
Render Disqus comment component using Disqus API.
Get your Disqus API Key from Disqus API Application.
Go to the settings page of your Disqus Application, enter your domain in Settings → Domains.
Get your Disqus Shortname from General Settings - Disqus Admin.
Set the value
enabletotrue, add the obtained Disqus API Key (apikey) and Shortname (shortname), and edit other configurations indisqusjssection in the NexT config file as following:NexT config file # DisqusJS
# Demo: https://disqusjs.skk.moe
disqusjs:
enable: false
# API Endpoint of Disqus API (https://disqus.com/api/docs/)
# leave api empty if you are able to connect to Disqus API
# otherwise you need a reverse proxy for Disqus API
# For example:
# api: https://disqus.skk.moe/disqus/
api:
apikey: # register new application from https://disqus.com/api/applications/
shortname: # See: https://disqus.com/admin/settings/general/
LiveRe
LiveRe is a content platform based on social networking site reviews to help users communicate freely.
Create an account or log into LiveRe, click on the
installationbutton and select the free city version, then click on theinstall nowbutton.Copy the
data-uidfield in the installation code to get your LiveRe UID.Add the obtained LiveRe UID to the
livere_uidsection in the NexT config file as following:NexT config file # Support for LiveRe comments system.
# You can get your uid from https://livere.com/insight/myCode (General web site)
livere_uid: your_uid
Gitalk
Gitalk is a modern comment component based on Github Issue and Preact.
Click here to sign up for a new OAuth Application. Other content can be filled in at will, but be sure to fill in the correct callback URL (usually the domain name corresponding to the comment page). Then you will get a Client ID and a Client secret.
Create a repository you want to store Gitalk comments in your GitHub.
Set the value
enabletotrue, add Client ID (client_id) and Client secret (client_secret) in step 1, add your Github username (github_idandadmin_user) and the created repository name (repo) in step 2, and edit other configurations ingitalksection in the NexT config file as following:NexT config file # Gitalk
# For more information: https://gitalk.github.io
gitalk:
enable: false
github_id: # GitHub repo owner
repo: # Repository name to store issues
client_id: # GitHub Application Client ID
client_secret: # GitHub Application Client Secret
admin_user: # GitHub repo owner and collaborators, only these guys can initialize gitHub issues
distraction_free_mode: true # Facebook-like distraction free mode
# When the official proxy is not available, you can change it to your own proxy address
proxy: https://cors-anywhere.azm.workers.dev/https://github.com/login/oauth/access_token # This is official proxy address
# Gitalk's display language depends on user's browser or system environment
# If you want everyone visiting your site to see a uniform language, you can set a force language value
# Available values: en | es-ES | fr | ru | zh-CN | zh-TW
language:
# If you want to customize the content of the initialized Issue, please edit the body parameter.
# For example:
# body: Comments for post ${title}, see ${url}
body:
Gitalk relies on the md5 value of the page path for tagging, the comments will not be loaded correctly if a page's permalink is changed.
If your GitHub username contains only numbers, YAML will parse it as an integer, causing Gitalk to fail to load. To avoid this, you can add quotes around the github_id and admin_user values in the NexT config file. For example:
gitalk: |
Utterances
A lightweight comments widget built on GitHub issues. Use GitHub issues for blog comments, wiki pages and more!
# Utterances |
Isso
Isso – Ich schrei sonst – is a lightweight commenting server written in Python and JavaScript. It aims to be a drop-in replacement for Disqus.
You need to install and configure Isso on your server first.
Set the value
issoin the NexT config file as the valuedata-issoin Isso script. An exemplary script tag is given in theIntegrationsection of the Isso quickstart document, you need to modify it according to the URL of your server.NexT config file # Isso
# For more information: https://isso-comments.de
isso: # <data_isso>