Hexo Installation
If this is your first time using Hexo, make sure you have the environment set up correctly. To get started, you need to:
Install Node.js: You can download the installer from the Node.js official website, use the package management tool included with your operating system, or use a Node.js version management tool like nvm. After installation, you should be able to execute
nodeandnpmcommands in the command line.Install Hexo CLI globally: Run
npm i -g hexo-cli. After this, you should be able to execute thehexocommand in the command line.Initialize a Hexo site: Execute
hexo init hexo-site. You can replacehexo-sitewith another path name, but this document will usehexo-siteas an example. This directory will be referred to as the site root directory in the following text.
Ensure you have a reliable internet connection during the installation process. If you encounter any issues, consider configuring a proxy for npm or git, or using mirror sites.
For more detailed installation steps, please refer to the Hexo Docs to see how to install Hexo and initialize a site. After the installation is successful, you should be able to execute hexo (or npx hexo) on the command line, and there must be package.json, source, themes and other directories in your site root directory:
$ cd hexo-site |
If you are new to Node.js or Hexo, you can also modify the source code of an existing Hexo website instead of creating a new one, to help you understand how Hexo works. In fact, the document you are reading is generated by Hexo with NexT, and you can install it with the following command:
git clone https://github.com/next-theme/theme-next-docs |
Make sure that you have installed Hexo and created a site with it successfully, because the following documents require you to operate in the site root directory.
NexT Installation
The detailed steps to install or upgrade the theme are as follows.
Downloading NexT
It's easy to install Hexo theme: you can choose to install the theme through npm, or download the source code of the theme in the themes directory under site root directory.
If you're using Hexo 5.0 or later, the simplest way to install is through npm.
Open your Terminal, change to Hexo site root directory and install NexT theme:
cd hexo-site |
If you know about Git, you can clone the whole repository of NexT theme.
Open your terminal, change to Hexo site root directory and clone the latest master branch of NexT theme:
cd hexo-site |
You can also read detailed installation instructions if you want any other installation variant.
Upgrading NexT
The NexT theme will continue to release new versions to include new features and bug fixes. Please read the release notes before updating the theme. You can update NexT by the following command.
If you have installed NexT theme through npm, you can upgrade it to the latest version by re-installing it:
cd hexo-site |
Note that any local changes to the theme inside node_modules directory will be lost when you run npm install. If you have made changes to the theme, you should back up the changes before running npm install, and then restore the changes after the installation is complete.
It's not recommended to modify the theme files in node_modules directory. To customize the theme, you can use the Custom Files feature.
After a new version of the theme is released, you can use git pull to update it to the latest master branch:
cd hexo-site |
If you have made changes to the theme, you may encounter merge conflicts (error message like «Commit your changes or stash them before you can merge») when running git pull. You can bypass merge conflicts by using the Commit, Stash or Reset commands for local changes. See here how to do it.
If you don't like the newer version, you can also use git to revert to an old version at any time.
If you are still using NexT version 5 or 7, you can read instructions for upgrading from legacy version.
Configuration Files
After completing the installation of Hexo and the NexT theme, you can customize your blog by modifying the configuration files. When you install Hexo, the accompanying configuration file is located in the site root directory of your blog and is named _config.yml; we refer to this as the Hexo config file. The configuration file for the NexT theme needs to be created by you; please create a _config.next.yml file in the site root directory, which we will refer to as the NexT config file in the following text. If you have installed other themes, then the configuration files for those themes will also follow the naming convention of _config.[name].yml.
After creating an empty _config.next.yml file, you can copy the default configuration options from the theme's folder over to it, so you can refer to them for modifications and customization. Depending on your installation method, the NexT theme's default configuration file may be located in themes/next/_config.yml or node_modules/hexo-theme-next/_config.yml.
In simple terms, if you are installing the NexT theme for the first time, you can execute the following command to obtain a usable NexT configuration file:
# Installed through npm |
Please be aware that some other documents or tutorials may suggest creating or directly modifying files such as themes/next/_config.yml and node_modules/hexo-theme-next/_config.yml. Indeed, doing so can be accepted by Hexo and serve as your theme configuration file. However, this approach can lead to many inconveniences. For example, when upgrading the theme, custom modifications made to these default configuration files may lead to conflicts or be overwritten, causing data loss. Therefore, please use the previously introduced _config.next.yml file as the theme's configuration file, and avoid creating or modifying other theme configuration files to prevent conflicts.
For more information, please refer to Alternate Theme Config feature documentation.
Hexo Configuration
The following settings in Hexo config file are very helpful for optimizing your website.
Configuring Author
Edit Hexo config file and set the value of author to your nickname.
# Site |
Configuring Description
Edit Hexo config file and set the value of description to your description, which can be a sentence you like.
# Site |
Enabling NexT
Like all Hexo themes, after you download it, open Hexo config file, find theme option, and change its value to next (or another theme directory name).
theme: next |
Now you have installed NexT theme and enabled it. The following steps will help you verify whether NexT is enabled correctly.
Checking NexT
It's recommended to use hexo clean to clean Hexo's cache first.
Then start Hexo local server with debug parameter (by adding --debug), the whole command is hexo s --debug. You can see the output while running, and if you find problem, you can use the output to help others locate error better. When it prints:
INFO Hexo is running at http://localhost:4000/. Press Ctrl+C to stop. |
Now you can open http://localhost:4000 in your browser, and check whether the site works correctly.
If you find your site looks like this picture, you have installed it correctly. That's default NexT scheme – Muse.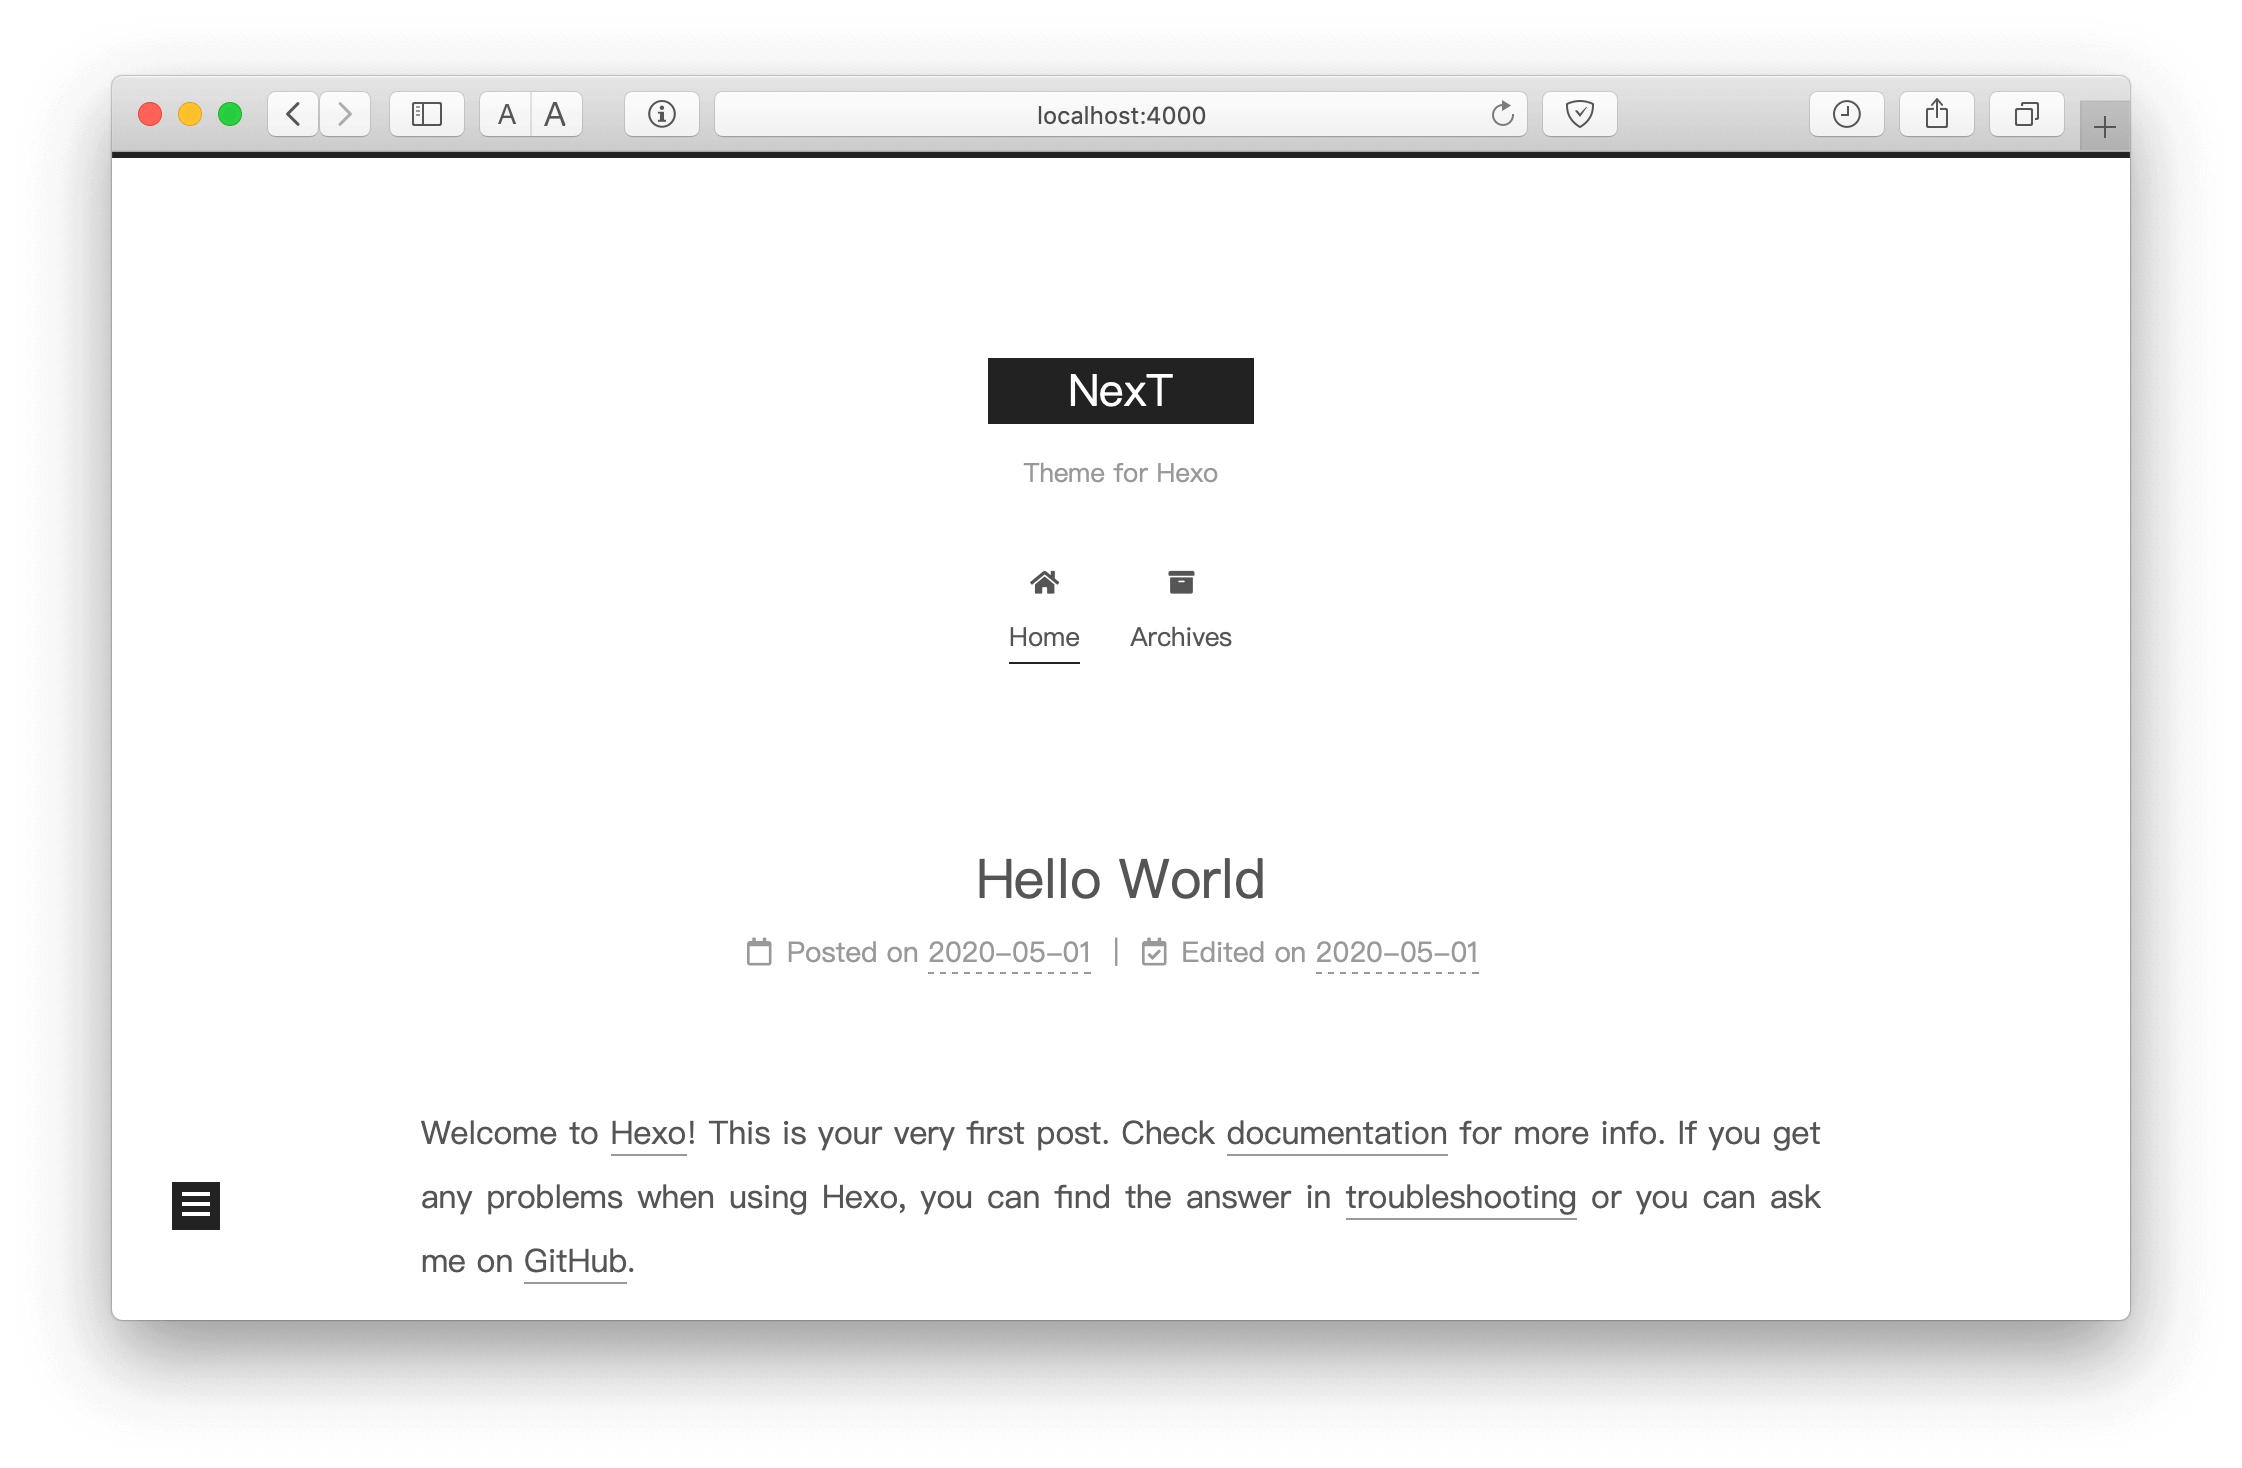
After that we can configure deployment.
If everything is OK, in next steps we will change some settings including personalization and third-party services integration.